Essential Stone Carving Tools and Equipment
Welcome to the fascinating world of stone carving! Whether you're a complete beginner or have some experience, having the right tools is absolutely crucial for safety, efficiency, and achieving the results you envision. This guide will walk you through the essential tools you're likely to need, explaining their purpose and offering tips on their care and maintenance. While the list can seem extensive, you can often start with a smaller selection and expand your collection as you progress. Stone carving can seem daunting at first, but with the right tools and a bit of practice, anyone can create beautiful works of art.
Understanding Stone and its Impact on Tool Choice
Before diving into the tools themselves, it's important to consider the type of stone you're working with. Softer stones like soapstone and alabaster require less aggressive tools than harder stones like granite or basalt. The porosity and grain structure of the stone will also influence your choice. Experimentation and research into the specific stone you’re using is always valuable. Knowing how the grain direction influences the carving process can also be incredibly helpful – you can learn more about understanding grain direction and its impact. Choosing the right stone is a fundamental step; different stones demand different approaches, and the learning curve can be steep if you’re unprepared for a particularly challenging material.
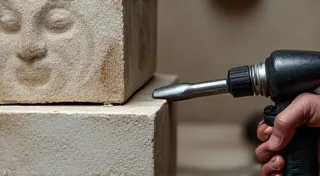
The Core Tools: Chisels and Mallets
These are the cornerstones of stone carving. Chisels are used to remove material, and mallets provide the force to drive them. Mastering these basic tools is essential, and a solid understanding of their use will serve you well as you progress to more specialized equipment.
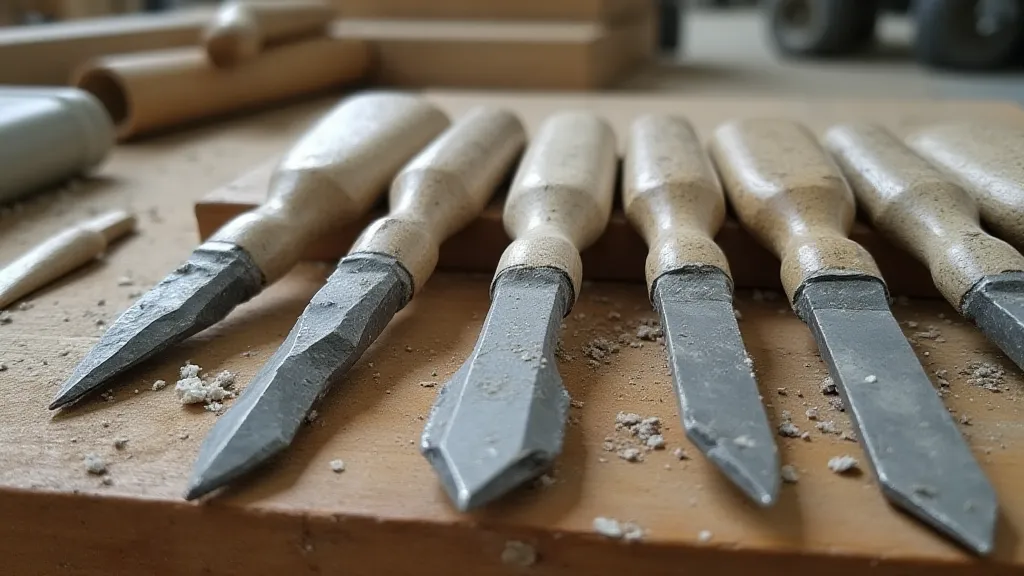
Chisels
Chisels come in various shapes and sizes, each designed for a specific purpose. Here's a breakdown:
- Point Chisels: These are used for precise work, outlining shapes, and detailing. They'll often be smaller and have a sharp point.
- Tooth Chisels: These have multiple cutting edges (teeth) and are great for removing larger amounts of material quickly. The number of teeth varies depending on the coarseness needed.
- Cold Chisels: Primarily for cutting into stone to create initial cuts or to join pieces. They are generally stronger and thicker than other chisels.
- Drag Chisels: Used for smoothing surfaces and creating a more refined finish.
Material: High-carbon steel is the most common material for carving chisels. They are often hardened and tempered for durability. Maintaining the hardness and temper is vital, and improper handling or storage can compromise their effectiveness.
Sizes: Start with a range of sizes, from 1/4 inch to 1 inch wide, to accommodate various tasks. For those starting with softer stone, you might consider sculpting with soapstone as a great way to build your skills. It’s a surprisingly accessible starting point, allowing you to develop a feel for the process without facing the challenges of harder materials.
Mallets
Mallets provide the force to drive chisels into the stone. The choice of mallet depends on the chisel and stone being used. The force applied directly impacts the precision and control you can achieve; choosing the right mallet is as important as choosing the right chisel.
- Wooden Mallets: The most common type. Hardwoods like maple or oak are preferred. They offer a good balance of force and control.
- Rubber Mallets: Provide less impact and are useful for delicate work or when working with softer stones.
- Plastic Mallets: Similar to rubber mallets, offering reduced impact.
Size & Weight: A good starting point is a wooden mallet around 1.5 to 2 pounds.
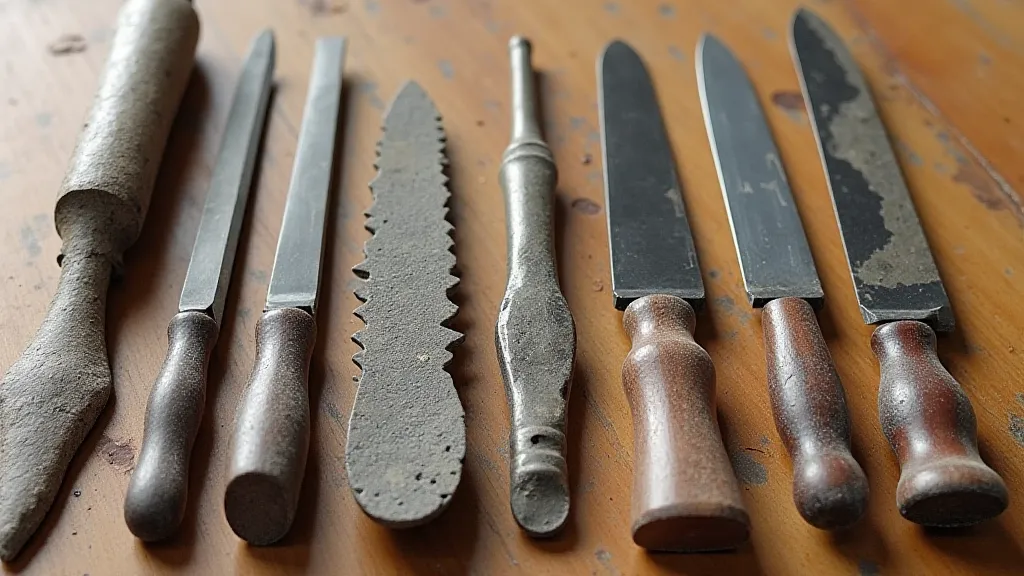
Shaping and Smoothing: Rasps, Files, and Abrasives
Once you've removed the bulk of the material with chisels, rasps, files, and abrasives are essential for shaping and smoothing the stone. This stage is where the artistry truly emerges; transforming a rough block of stone into a refined sculpture requires patience and a meticulous approach.
Rasps
Rasps are like coarse files, used for quickly removing material and shaping the stone. They come in a variety of shapes, each suited for different areas and curves. The selection of rasp shapes can seem overwhelming at first, but with practice, you’ll develop a sense of which shapes are best suited for different tasks.
- Half-Round Rasps: Versatile for concave and convex surfaces.
- Round Rasps: Ideal for internal curves and tight spaces.
- Flat Rasps: For smoothing flat surfaces and creating straight lines.
Files
Files are finer than rasps, used for more precise shaping and refining the form.
Abrasives
Abrasives come in various forms—sandpaper, diamond pads, and grinding stones—and are used for the final smoothing and polishing stages. Achieving a truly polished finish requires a systematic approach, working through progressively finer grits.
- Diamond Pads: Extremely effective for removing scratches and creating a smooth surface.
- Silicon Carbide Sandpaper: Available in a wide range of grits, for progressively finer sanding.
Supporting Tools & Equipment
Beyond the core chisels, mallets, and shaping tools, several other items will be invaluable in your stone carving journey. Consider these as essential companions to your primary tools; they will significantly improve your efficiency and accuracy.
- Measuring Tools: Rulers, calipers, protractors – accurate measurements are essential for achieving the desired form.
- Pencils & Markers: For marking out designs and guidelines on the stone.
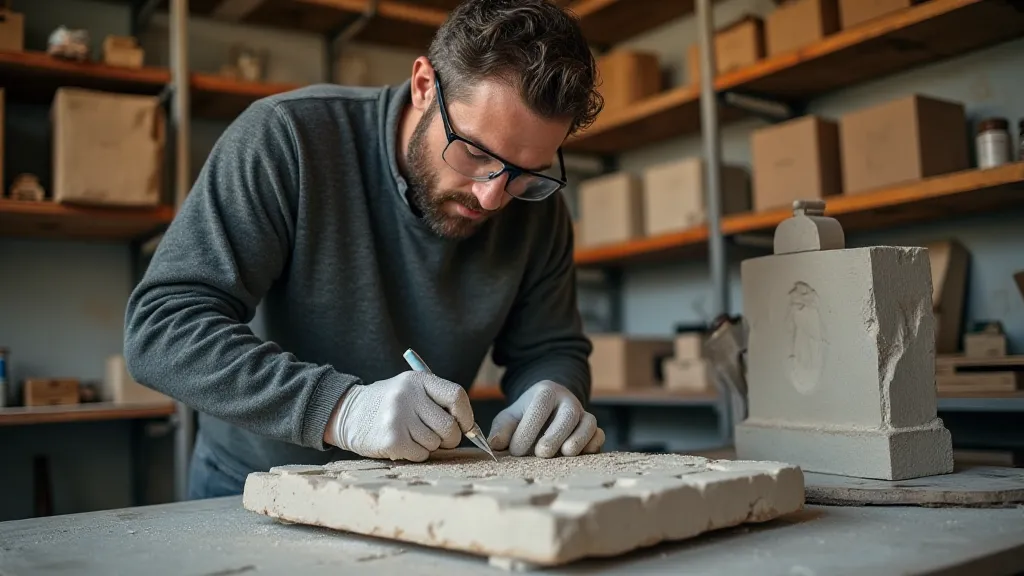
- Safety Glasses: Absolutely crucial for protecting your eyes from flying chips of stone.
- Dust Mask or Respirator: Stone dust is harmful to your lungs; a dust mask or respirator is a necessity. Dealing with dust is a constant issue, and learning how to work efficiently is part of the process.
- Work Gloves: To improve grip and protect your hands.
- Vise or Clamps: To securely hold the stone while you work.
- Angle Grinder (Optional): For rough shaping and removing large amounts of material quickly (requires significant skill and safety precautions). If you're considering an angle grinder, be sure to invest in proper training; it's a powerful tool that demands respect.
- Water Source: Many carvers use water to cool the stone and prevent dust. The process of cleaning the stone and tools is time-consuming but vital.
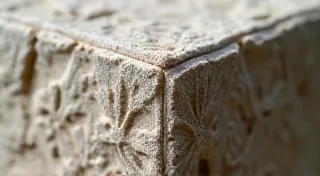
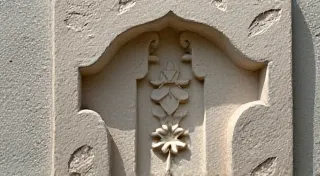
For those interested in a more textured finish, consider exploring sandstone carving tips - this stone offers unique opportunities for creative expression. Sandstone, with its granular structure, lends itself beautifully to techniques that highlight its natural texture, offering a different aesthetic compared to smoother stones like marble.
Caring for Your Tools
Your stone carving tools are an investment, so proper care is essential for ensuring their longevity. Regular maintenance will not only extend the life of your tools but also ensure they perform optimally, contributing to the quality of your work.
- Sharpening: Chisels will dull over time and need to be sharpened regularly. A sharpening stone and honing oil are essential. Learning to sharpen your own chisels is a valuable skill that will save you money in the long run.
- Cleaning: Clean your tools after each use to remove stone dust and debris.
- Rust Prevention: Apply a light coat of oil to your tools to prevent rust.
- Storage: Store your tools in a clean, dry place.
Many new carvers find the complexities of troubleshooting common issues overwhelming. Checking out troubleshooting stone carving problems can save you significant time and frustration. From chipping to cracking, knowing how to diagnose and address these issues is a key part of becoming a proficient stone carver.
Stone carving is a rewarding but challenging craft. By understanding the importance of the right tools and how to care for them, you’re setting yourself up for success. Remember to prioritize safety, be patient with yourself, and enjoy the creative process.