Sandstone Carving: Tips and Tricks for Beginners
Sandstone, with its warm tones and relatively soft nature, is a popular choice for beginner stone carvers. Its accessibility makes it an appealing entry point into the world of sculpture, but don't let that fool you – sandstone presents unique challenges. Its inherent brittleness requires specific techniques and approaches to achieve successful carvings. This guide will equip you with the essential knowledge and practical tips to navigate the intricacies of sandstone carving, transforming it from a potentially frustrating experience into a rewarding artistic journey.
Understanding Sandstone: Properties and Challenges
Before you even pick up a chisel, understanding the type of sandstone you're working with is crucial. Sandstone is a sedimentary rock composed primarily of sand grains cemented together. The composition of these grains (quartz, feldspar, etc.) and the type of cement (silica, calcium carbonate, iron oxides) affect the stone's color, porosity, and importantly, its strength. Some sandstone varieties are quite durable, while others are notoriously crumbly.
The biggest challenge with sandstone is its brittleness. Unlike marble or granite, sandstone isn't as resilient to impact. A sharp, unexpected blow can cause it to chip or even fracture. This means a different mindset and a gentler approach are needed. You’re not just removing material; you’re delicately shaping a fragile substance. Consider how the grain orientation impacts your efforts – properly understanding understanding grain direction in stone is a cornerstone of success.
Essential Tools for Sandstone Carving
While you can start with basic hand tools, the right equipment can significantly improve your results and reduce frustration. Here’s a breakdown:
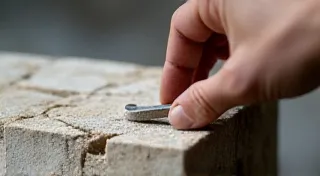
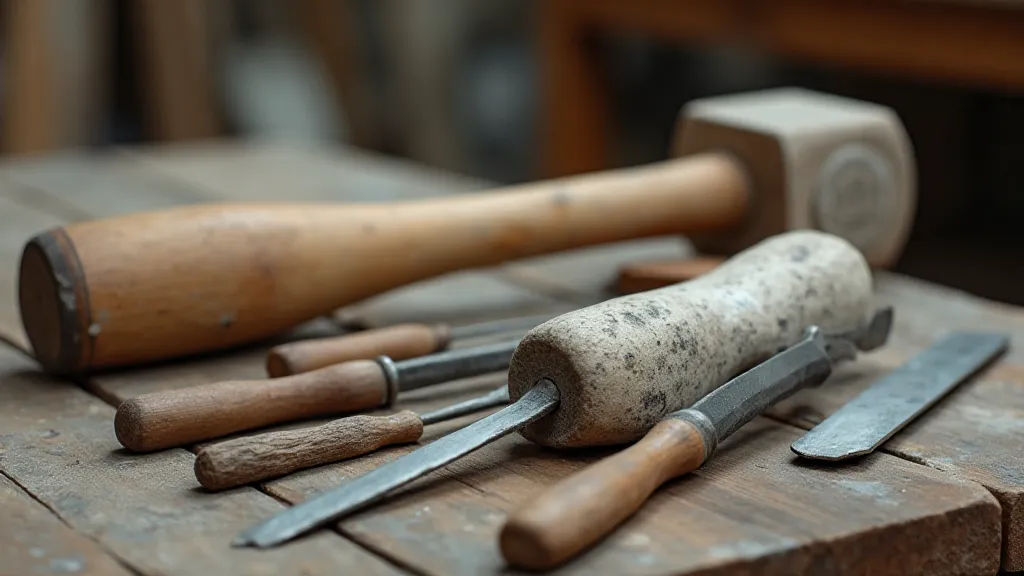
- Chisels: A variety of sizes and shapes are necessary. Start with a range from 1/2 inch to 3 inches wide. Pointed chisels are good for detail work, while wider ones are useful for removing larger areas.
- Mallet: A wooden or rubber mallet is preferred over a steel hammer. The softer impact minimizes the risk of chipping. Consider a mallet with adjustable weights.
- Clamps: Securely clamping your sandstone block is vital for stability and safety.
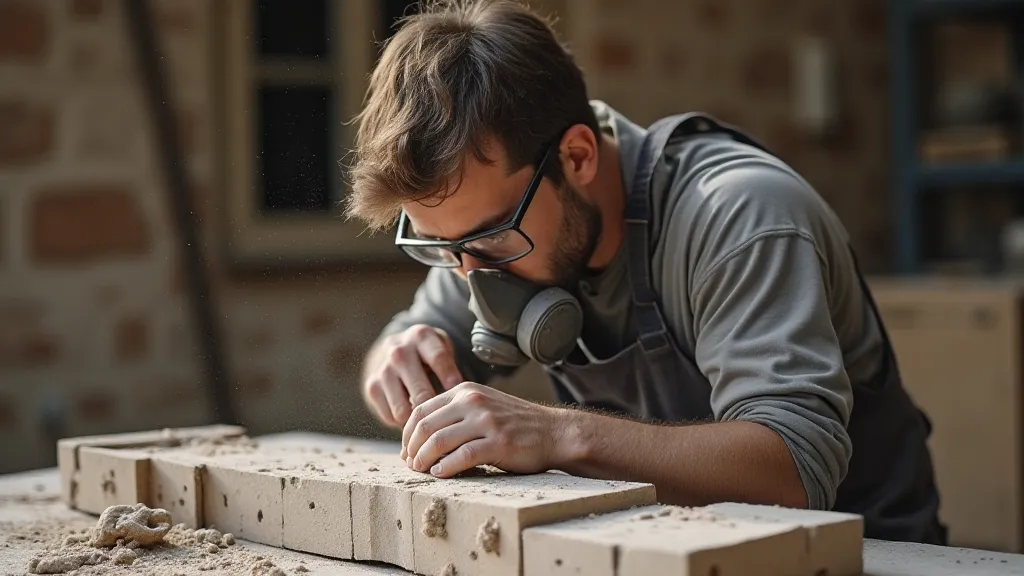
- Safety Glasses: Absolutely essential to protect your eyes from flying stone chips.
- Dust Mask/Respirator: Sandstone dust can be harmful, so respiratory protection is critical.
- Pencils and Markers: For marking your design.
- Files and Rasps: For refining surfaces and removing small imperfections.
- Diamond Pads/Abrasives: Useful for smoothing and polishing.
- Full Toolkit: Beyond these basics, carefully selecting and maintaining your essential stone carving tools will directly impact your ability to create detailed and lasting pieces.
Techniques for Carving Sandstone: A Gentle Approach
The key to successful sandstone carving is patience and control. Here's a breakdown of essential techniques:
1. Planning and Design
Careful planning is even more important with sandstone. Consider the stone's grain direction. Carving against the grain will increase the likelihood of chipping. Mark your design clearly and repeatedly review it before you start removing material. Think about scale and complexity; even a simple design can become challenging with the limitations of sandstone.
2. The 'Light Touch'
Avoid forceful blows. Use a light, controlled tapping motion with the mallet. Think of it as persuading the stone to move, not forcing it.
3. Working with the Grain
Observe the grain direction and carve primarily *with* it. This minimizes stress on the stone and reduces the risk of breakage.
4. Gradual Removal
Remove material in small increments. Avoid trying to take large chunks off at once. Layered removal gives you better control and allows you to adjust as you go.
5. Using Pointed Chisels for Detail
Pointed chisels are invaluable for refining details and cleaning up edges. However, remember to use a very light touch with these, as they are more prone to causing chipping.
6. Dealing with Crumbly Sandstone
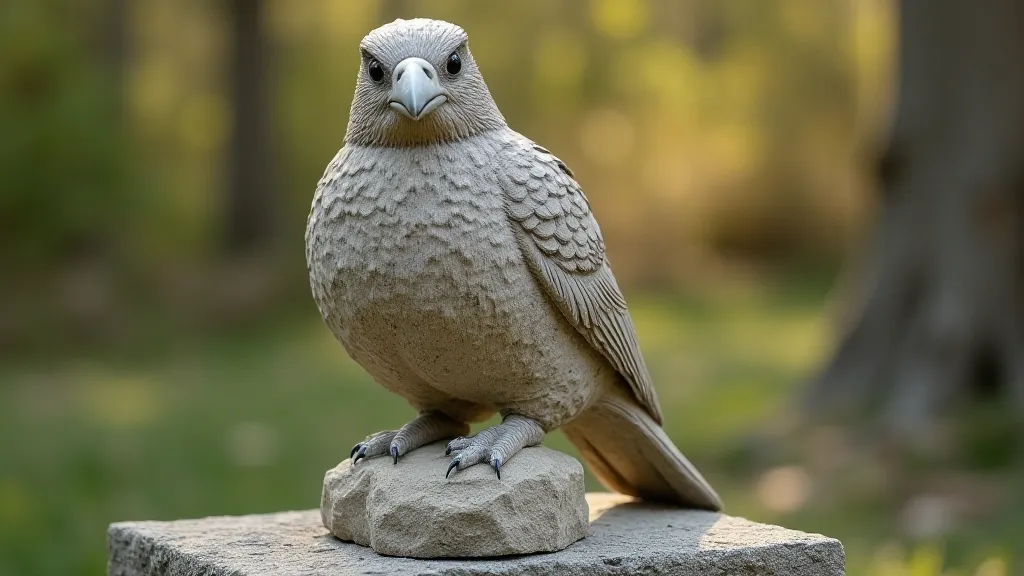
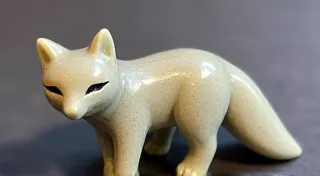
Some sandstone varieties are exceptionally crumbly. In these cases, consider using a pneumatic chisel (air chisel) with a very light trigger pull. This allows for precise material removal while minimizing impact force. Alternatively, try using a smaller chisel and working in even smaller increments. Understanding the limitations of your material is critical for selecting the right tools and techniques. Even a seemingly simple project, like a stone animal carving project, can teach you a great deal about working with different types of sandstone.
7. Smoothing and Finishing
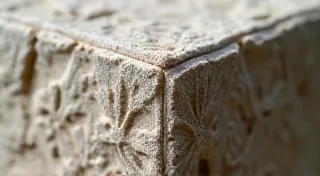
Once you’re satisfied with the shape, use files and rasps to smooth the surfaces. For a polished finish, gradually increase the grit of diamond pads or abrasive paper. Wet sanding can also help to reduce dust and create a smoother surface. Polishing is more than just aesthetics; it protects the stone and enhances its durability.
Safety First: Protecting Yourself and Your Work
Safety should always be your top priority. Here's a reminder of essential precautions:
- Wear safety glasses: Stone chips can cause serious eye injury.
- Wear a dust mask or respirator: Sandstone dust is harmful to your lungs.
- Clamp your work securely: Prevent the stone from shifting during carving.
- Work in a well-ventilated area: Reduce dust inhalation.
- Be aware of your surroundings: Keep your workspace clear of obstructions.
- Don’t rush: Rushing increases the risk of accidents and mistakes.
- Personal Protective Equipment (PPE): Beyond the basics, always prioritize robust PPE – it's a small price to pay for your safety and the longevity of your craft.
Troubleshooting Common Problems
Even with careful planning and technique, you’re likely to encounter challenges. Here’s how to address some common problems:
- Chipping: Reduce the force of your blows, work with the grain, and consider using a smaller chisel. Understand that chipping is often a learning experience – analyze what caused it and adjust your technique.
- Breakage: The stone may have internal flaws you couldn't see. Try a different block or re-examine your carving technique. Consider reinforcing the piece with epoxy resin if necessary (although this compromises the 'natural' aspect of the carving). Recognizing potential weaknesses is key to preventing disaster.
- Uneven Surface: Take your time and be more precise with your chisel placement. Use files and rasps to even out imperfections.
- Difficulty Removing Material: Check the grain direction and ensure you’re using the appropriate chisel for the job.
- Cracking During Drying: Sandstone can sometimes crack as it dries, especially after being cut or altered. Slow, controlled drying, perhaps under plastic sheeting, can help to minimize this.
Beyond the Basics: Creative Applications
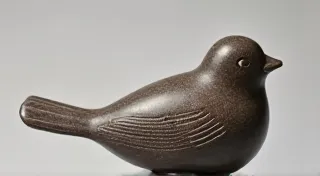
Once you're comfortable with the fundamentals, you can explore more ambitious projects. Sandstone's warm tones and texture make it perfect for creating garden art, adding a touch of natural beauty to your outdoor space. Stone carving for garden art provides a wonderful opportunity to combine your artistic skills with a love of the outdoors. It allows you to create durable and visually appealing pieces that will withstand the elements.
Conclusion: Embrace the Challenges and Enjoy the Process
Sandstone carving presents unique challenges, but the rewards are well worth the effort. With patience, practice, and a gentle approach, you can transform this versatile stone into beautiful and enduring works of art. Don't be discouraged by setbacks – learn from your mistakes and embrace the process of discovery. The inherent beauty and warmth of sandstone, combined with your artistic vision, will create pieces that are both visually stunning and deeply satisfying. Remember to always prioritize safety and enjoy the journey! Consider joining a local carving group to share experiences and learn from others.