Introduction to Stone Carving: A Beginner's Guide
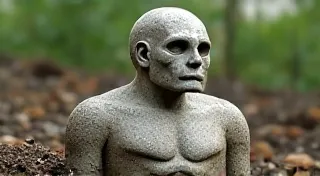
Stone carving, an art form stretching back millennia, is experiencing a resurgence in popularity. It's a captivating blend of artistry and physical craft, offering a unique creative outlet. While the idea of transforming a raw, unyielding stone into a work of art might seem daunting, it's a surprisingly accessible hobby for beginners. This guide will introduce you to the fundamentals of stone carving, equipping you with the knowledge to embark on your first projects.
Why Stone Carving?
Beyond the tangible beauty of a finished sculpture, stone carving provides a host of benefits. It's incredibly meditative, demanding focus and presence. The physicality of the work – the striking, the chipping, the shaping – is a satisfying contrast to the digital world. Furthermore, it offers a deep connection to the natural world, as you work with materials formed over geological timescales. The permanence of stone also imbues your creations with a sense of lasting significance. Stone carving isn't just about creating beautiful objects; it’s about engaging in a process that connects you to history and the earth itself. For those interested in starting with a particularly accessible stone, exploring sculpting with soapstone offers a gentle introduction to the craft.
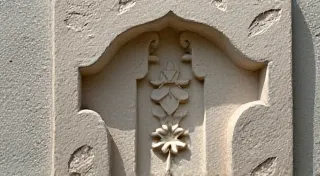
Choosing Your Stone: A Foundation for Success
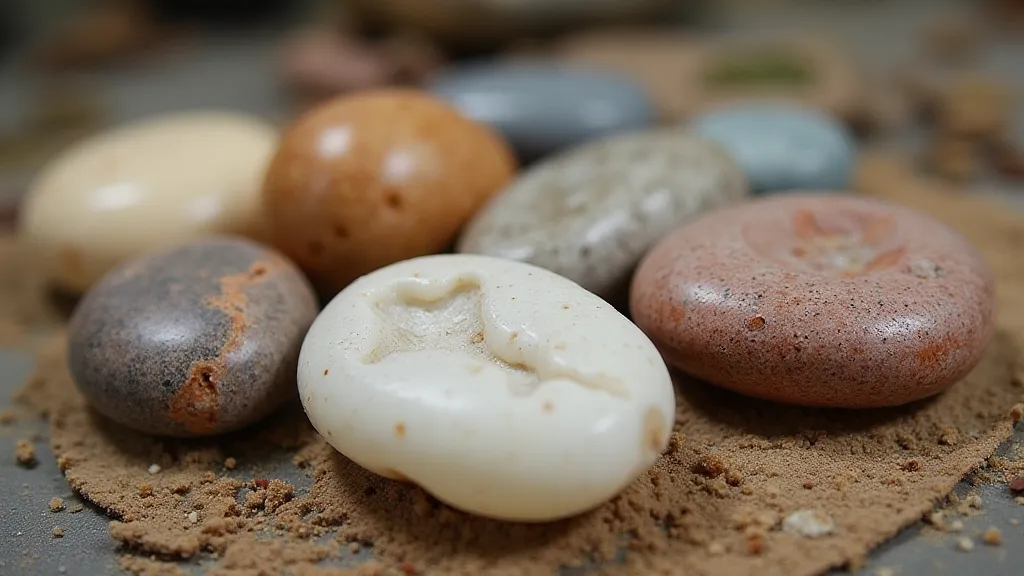
The type of stone you choose significantly impacts the carving process and the final product. Here's a breakdown of some common options for beginners:
- Soapstone (Steatite): Arguably the easiest stone to carve, soapstone is soft, relatively inexpensive, and comes in a variety of colors. Its softness makes it forgiving for beginners making mistakes. It can be carved with hand tools, and even some power tools.
- Alabaster (Gypsum): Another soft stone, alabaster is prized for its translucence and delicate appearance. It's slightly more challenging than soapstone but still well-suited for beginners.
- Limestone: A moderately soft stone, limestone is readily available and relatively inexpensive. However, it can be porous and prone to crumbling if not handled carefully.
- Sandstone: Similar to limestone, sandstone is generally easy to carve but requires care to prevent breakage.
- Marble: While beautiful, marble is considerably harder than the stones listed above and best left for more experienced carvers.
When selecting your stone, consider its color, texture, and overall appearance. Smaller pieces are ideal for beginners, allowing you to experiment without committing to a large project. Think about the challenges each stone presents – some demand more precision, while others are inherently more fragile. Understanding these nuances early on will make your learning experience more enjoyable and lead to better results.
Essential Stone Carving Tools: Getting Equipped
You don't need a huge arsenal of tools to begin stone carving. Here's a list of essentials:
- Point Chisels: Used for removing larger amounts of stone. Come in various sizes and shapes.
- Tooth Chisels: Used for finer detail work and shaping.
- Cold Chisels: Versatile tools used for both removing material and creating clean lines.
- Mallet: Used to strike chisels. A rubber or plastic mallet is recommended to avoid damaging the chisel.
- Safety Glasses: Absolutely crucial to protect your eyes from flying debris.
- Dust Mask: Stone carving generates dust, some of which can be harmful.
- Work Gloves: To protect your hands and improve grip.
- Pencils/Markers: For marking your design onto the stone.
- Measuring Tools: Ruler, calipers, etc. for accurate measurements.
As you progress, you might consider investing in specialized tools like angle grinders with diamond blades, but these are not necessary for beginner projects. The right tools can make a significant difference in your carving experience, allowing for greater control and precision. Don't be afraid to research different tool types and experiment to find what works best for you.
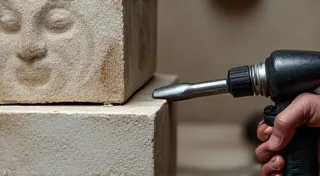
Safety First: Protecting Yourself
Stone carving can be physically demanding and presents some inherent risks. Prioritizing safety is paramount:
- Eye Protection: Always wear safety glasses. Stone chips can fly with surprising force.
- Dust Control: Wear a dust mask or respirator to avoid inhaling stone dust. Work in a well-ventilated area. Wetting the stone can also reduce dust.
- Proper Posture: Maintain good posture to avoid back strain.
- Secure Footing: Work on a stable surface to prevent slips and falls.
- Sharp Tools: Keep your tools sharp. Dull tools require more force, increasing the risk of injury.
- Controlled Strikes: Strike chisels with controlled, even blows. Avoid erratic movements.
- First Aid Kit: Have a basic first aid kit readily available.
Beyond the basics, remember that stone dust can pose long-term health risks. Regular cleaning of your workspace and proper disposal of dust are essential for maintaining a safe environment. Learning about best practices for cleaning and preserving your stone carvings is also key to enjoying your creations for years to come. You can find valuable tips on caring for your stone carvings to ensure their longevity.
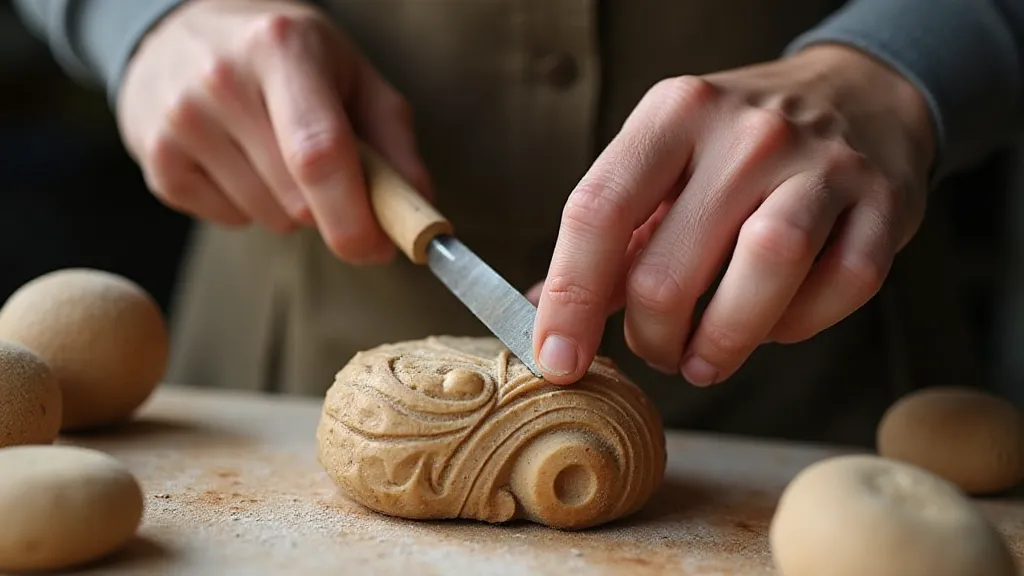
Basic Carving Techniques: Getting Started
Let's explore a few fundamental carving techniques. For your first project, a simple shape like a small animal or geometric form is a good choice.
- Marking Your Design: Carefully sketch your design onto the stone using pencils or markers. Consider using carbon paper to transfer a pre-drawn design.
- Roughing Out: Use point chisels and a mallet to remove larger portions of the stone, gradually approaching your desired shape.
- Shaping: Switch to tooth chisels and cold chisels to refine the shape, creating smooth curves and sharp edges.
- Detailing: Use smaller chisels to add fine details and texture.
- Smoothing: Use abrasive papers (sandpaper) to smooth the surface of the carving. Start with coarser grits and work your way to finer grits.
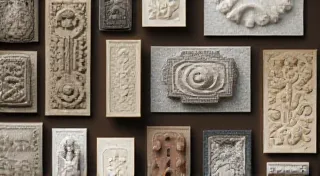
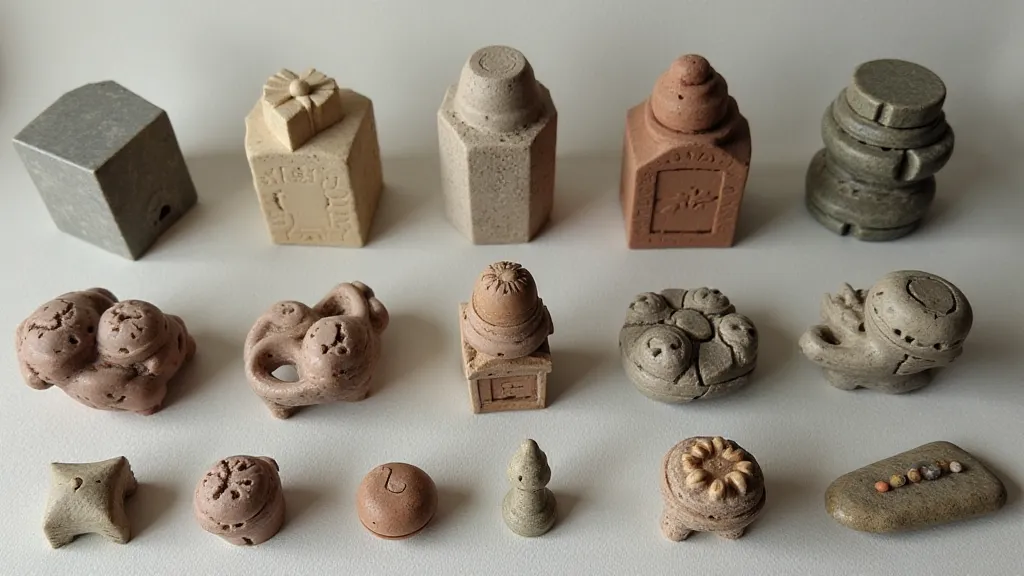
Project Ideas for Beginners
Here are a few project ideas to get you started:
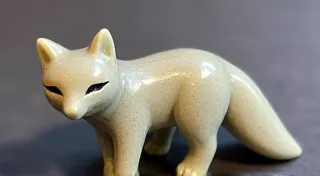
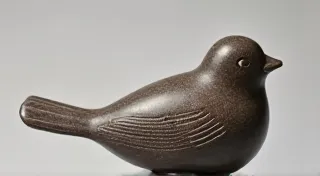
- Soapstone Animal Figurines: Simple animal shapes like birds, cats, or bears are excellent starting points.
- Geometric Stone Boxes: Carving a small box with clean lines and sharp edges is a good way to practice precision.
- Stone Coasters: Create unique coasters by carving simple geometric patterns into flat stones.
- Carved Stone Beads: Experiment with carving unique beads for jewelry making.
Don't be afraid to draw inspiration from the masters. Observing how experienced carvers approach their work can provide valuable insights and help you develop your own style. You can explore inspiration from stone carving masters for ideas and techniques to elevate your craft.
Resources and Further Learning
Once you’re comfortable with the basics, consider exploring more advanced techniques. There are numerous books, online tutorials, and workshops available to help you hone your skills.
Stone carving is a rewarding and fulfilling art form. With patience, practice, and a commitment to safety, you can transform raw stone into beautiful and enduring creations. Good luck, and enjoy the journey!