Simple Stone Carving Project: A Stone Animal
Welcome to the world of stone carving! It’s a craft that’s both ancient and endlessly rewarding. While large-scale stone sculpture can seem daunting, creating smaller, simpler pieces is a fantastic way to begin. This guide will walk you through carving a small animal sculpture from soapstone – a beginner-friendly stone perfect for learning the basics. This project is designed to be accessible to anyone with little to no prior stone carving experience.
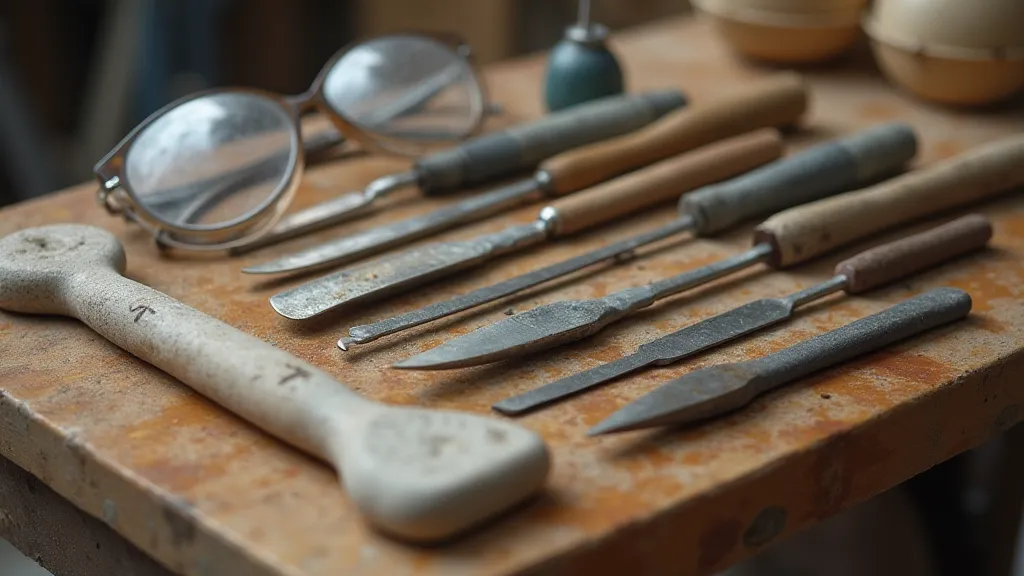
What You'll Need
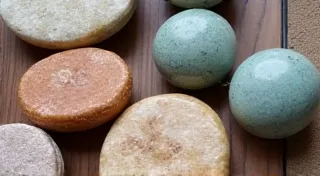
- Soapstone: Choose a piece approximately 3-4 inches in size. Softer stones like soapstone are much easier to carve than harder stones like granite or marble. Look for a piece with a relatively smooth surface and a pleasing color.
- Carving Tools: A basic carving kit will suffice. Essential tools include:
- Cold chisel (various sizes): These are your primary carving tools. Start with a 1/2 inch and 3/4 inch chisel.
- Relief hammer (or mallet): Used to strike the chisels and generate force.
- Point chisel: For finer detail work and removing small amounts of stone.
- Gouges (various shapes): While not strictly necessary for this project, gouges can be helpful for shaping curves.
- Safety Gear:
- Safety glasses: Absolutely essential to protect your eyes from flying stone chips.
- Dust mask: Soapstone dust, while generally considered less harmful than other stone dusts, is still best avoided.
- Gloves: To protect your hands and provide a better grip.
- Water: For wetting the stone and cleaning your tools.
- Pencil or marker: For sketching your design.
Planning Your Animal
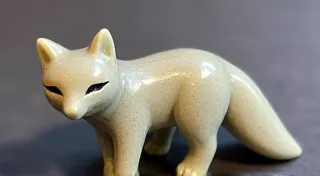
The beauty of this project lies in its flexibility. You can carve almost any animal you like! Start with a relatively simple shape. A mouse, a bird, or a small rabbit are all good choices. Consider the animal’s posture and key features. Don’t aim for perfect realism; a stylized representation is perfectly acceptable (and often more charming) for a beginner project.
- Sketch your design: Use a pencil to lightly sketch the outline of your animal directly onto the soapstone. You can also transfer a drawing from paper using carbon paper.
- Consider the grain of the stone: Soapstone has a grain, which can influence how easily it carves. Try to orient your animal so that you're primarily carving *with* the grain, rather than against it. This will make the process much easier.
- Break down the shape: Visualize the animal as a series of simpler shapes. This will help you plan your carving strokes.
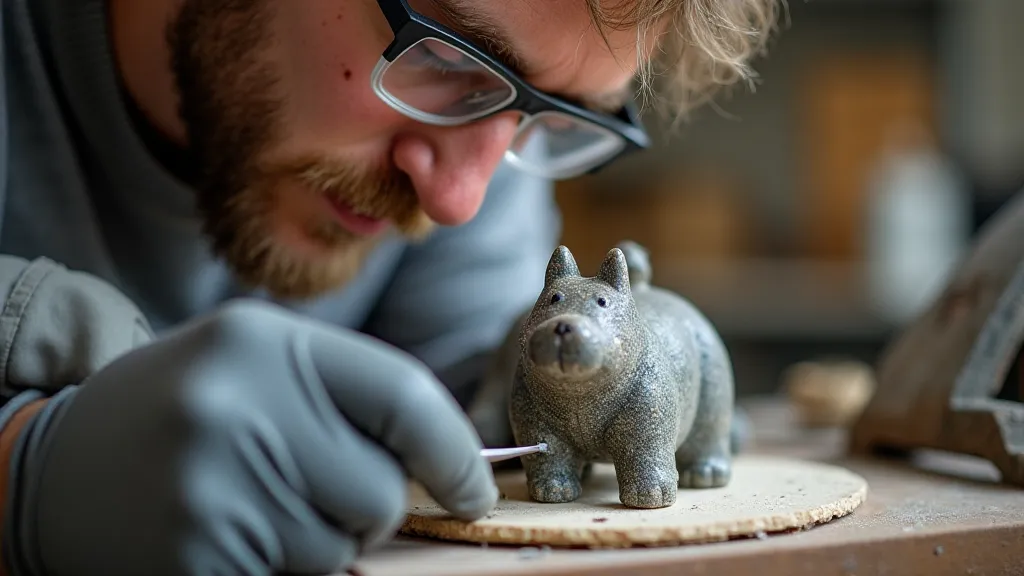
The Carving Process – Step by Step
Remember to work slowly and deliberately. Small chips are better than large, uncontrolled removals. Regularly wet the stone with water – this reduces dust and makes it easier to see your progress. Also, keep your tools sharp; dull tools require more force and are more likely to slip.
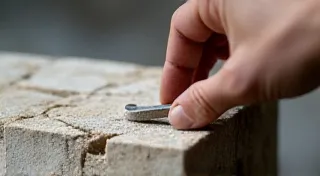
- Roughing Out the Shape: Use the larger cold chisels and the relief hammer to remove the bulk of the unwanted stone. Focus on establishing the overall shape of the animal. Don't worry about details at this stage. Take multiple passes, removing small amounts of stone each time.
- Defining the Form: Switch to slightly smaller chisels. Begin to refine the shape, defining the animal's limbs, head, and body. Continue to work in small, controlled chips. Pay attention to the angles of your chisels – angling them can create different effects.
- Adding Details: Now it's time for the point chisel. Use it to create finer details, such as eyes, ears, and a nose. Be extremely careful at this stage, as it’s easy to accidentally remove too much stone.
- Smoothing the Surface: Once you're happy with the shape and details, use a slightly rounded chisel to smooth out any rough edges or tool marks. This will give your animal a more polished look.
- Final Touches: Wet the sculpture and inspect it carefully from all angles. Make any necessary adjustments.
Tips for Beginners
- Start Small: This project is designed for beginners, so don't try to tackle anything too ambitious.
- Work in a Well-Ventilated Area: Even though soapstone dust is relatively safe, it’s still a good idea to work in a well-ventilated area.
- Keep Your Tools Sharp: Sharp tools are safer and more efficient.
- Take Breaks: Stone carving can be physically demanding. Take breaks as needed to avoid fatigue.
- Don’t Be Afraid to Experiment: Try different carving techniques and see what works best for you.
- Learn from Your Mistakes: Everyone makes mistakes. The key is to learn from them and keep practicing.
- Embrace the Imperfection: Remember, this is a handmade piece. It doesn’t have to be perfect to be beautiful.
Beyond the Basics
Once you're comfortable with this basic project, there are countless ways to expand your stone carving skills. You can try:
- Carving different types of stone: Explore other soft stones like albertite or serpentine.
- Carving more complex animals: Try a standing lion, a perched owl, or a playful otter.
- Adding textures: Use different chisels or carving techniques to create textured surfaces.
- Polishing your sculptures: Use sandpaper and polishing compounds to create a high-gloss finish.
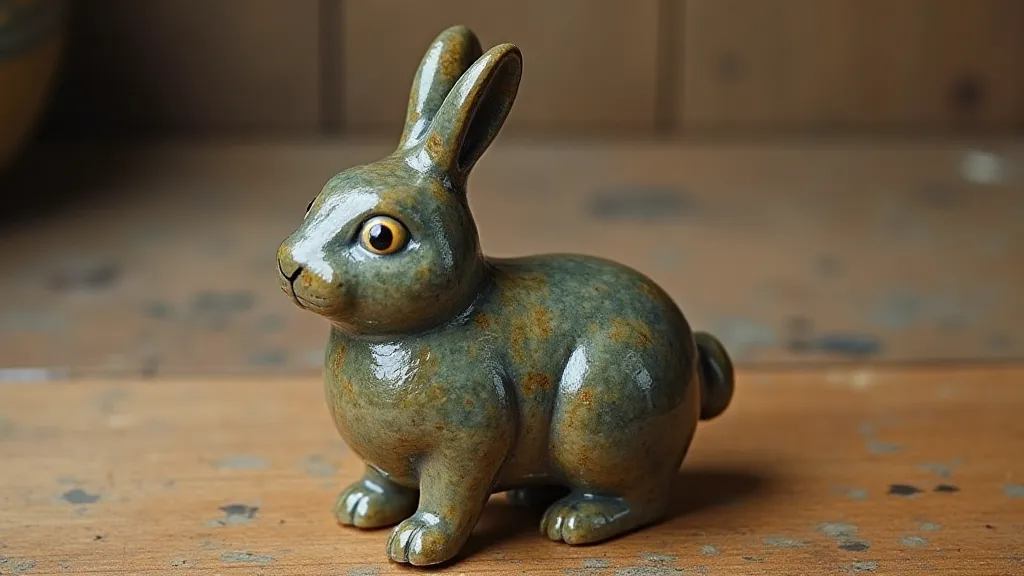
Stone carving is a rewarding and meditative craft. With a little patience and practice, you can create beautiful and unique works of art. Enjoy the process!