Basic Stone Carving Techniques: Relief Carving
Relief carving, a foundational technique in stone carving, involves creating raised designs on a flat stone surface. Unlike sculpture-in-the-round, which is a three-dimensional piece, relief carving maintains a background plane, making it a great entry point for those new to stone carving. It's a technique steeped in history, found in ancient Egyptian hieroglyphs, medieval church carvings, and countless other artistic traditions. This article will guide you through the essential steps, tools, and tips for creating beautiful relief carvings. If you are entirely new to working with stone, you might want to start with an introduction to stone carving to understand the basics of the material and safety practices.
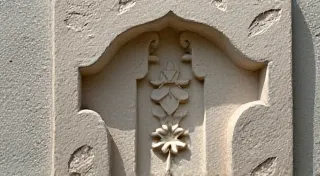
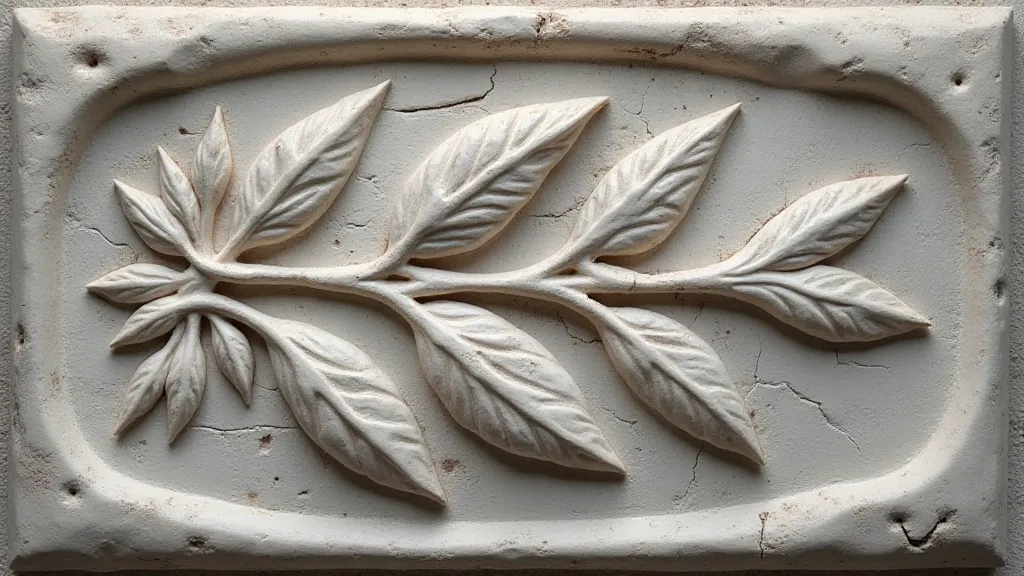
Understanding Relief Carving: Types and Characteristics
Before diving into the how-to, let's clarify the different types of relief carving. Understanding these distinctions will inform your approach:
- High Relief: The design projects significantly from the background, often creating dramatic shadows and depth. This is more challenging and requires more stone removal.
- Medium Relief: A balanced approach – the design is raised but not overly dramatic. This is a popular choice for many projects.
- Low Relief (Bas-Relief): The design barely projects from the background. This requires incredible precision and control.
Choosing the right type of relief depends on your skill level, the complexity of your design, and the desired visual impact. For beginners, medium or low relief are generally recommended.
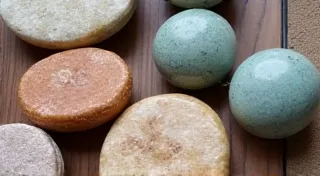
Materials: Choosing the Right Stone
The stone you choose significantly impacts the ease and success of your relief carving. Here are a few good options for beginners:
- Soapstone (Steatite): Soft and easily carved with basic hand tools. It’s forgiving and ideal for learning.
- Alabaster: Similar to soapstone in softness, alabaster is prized for its translucent quality and smooth texture. Achieving the right level of alabaster carving techniques to create that translucence requires a gentle and controlled approach.
- Limestone: A slightly harder stone, limestone offers a more "authentic" carving experience while still being manageable.
- Sandstone: Relatively soft and good for practice.
Avoid harder stones like granite or marble for your first projects – they will require specialized tools and considerably more effort.
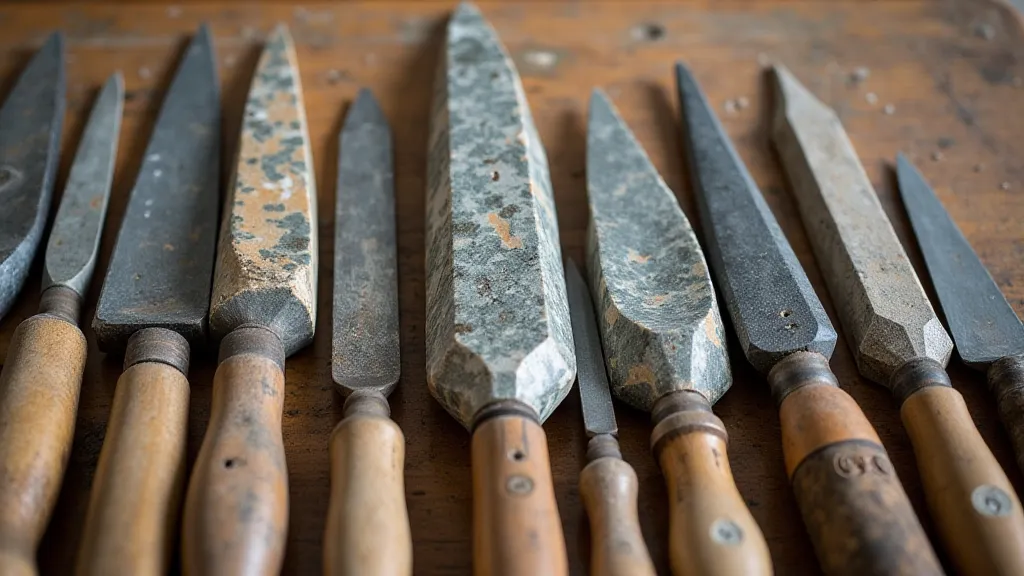
Essential Tools for Relief Carving
While specialized power tools can speed up the process, relief carving is very achievable with hand tools. Here's a basic toolkit:
- Mallet (Carving Hammer): Used to strike chisels.
- Chisels (Various Sizes and Shapes): These are your primary carving tools. Explore different profiles like tooth chisels, point chisels, and flat chisels.
- Gouges (Various Sizes and Shapes): Curved chisels used for shaping and removing material.
- Pencils & Transfer Paper: For transferring your design onto the stone.
- Safety Glasses: Absolutely essential to protect your eyes from flying stone chips.
- Dust Mask: To prevent inhaling stone dust.
- Work Gloves: To improve grip and protect your hands.
The exact tools you need will depend on the complexity of your design. Many carvers encounter unexpected troubleshooting stone carving challenges, and having a well-maintained toolkit is a key component of success.
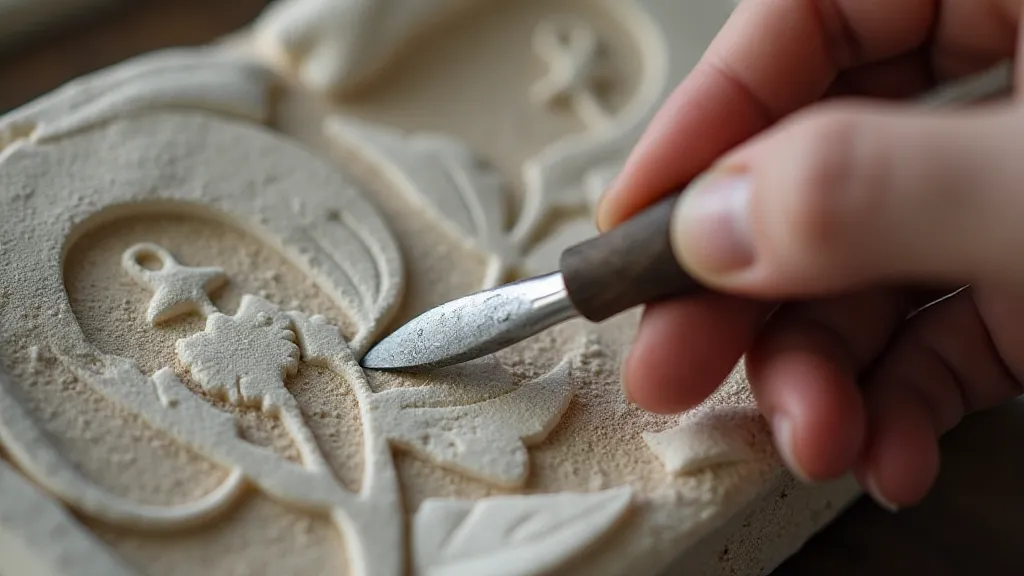
Step-by-Step Guide to Relief Carving
- Design and Transfer: Start with a simple design. Sketch it on paper, then transfer it to your stone using transfer paper and a pencil. Accurate tracing is crucial – mistakes are difficult to correct.
- Roughing Out: Using a point chisel and mallet, carefully remove the stone around your design. Focus on establishing the outlines and creating a basic depth difference between the raised design and the background. Don't try to be precise at this stage; prioritize removing large amounts of material efficiently.
- Defining the Design: Switch to a tooth chisel to refine the outlines of your design. Take small, controlled strikes. Regularly step back to assess your progress.
- Shaping and Detailing: Employ various gouges and chisels to shape the raised areas of your design. This is where you add the detail that brings your carving to life. Focus on creating smooth surfaces and well-defined edges.
- Smoothing and Finishing: Once you're happy with the shape and detail, use finer chisels or sandpaper to smooth the surface. Be careful not to remove too much material.
- Cleaning and Polishing (Optional): Depending on the stone type and desired finish, you can clean the carving with a brush and water. Some stones benefit from polishing with a stone polishing compound.
Tips for Successful Relief Carving
- Start Small: Choose a small piece of stone and a simple design for your first project.
- Sharp Tools are Essential: Dull tools require more force and are more likely to slip, leading to mistakes and injuries. Regularly sharpen your chisels and gouges.
- Control Your Strikes: Use short, controlled strikes with the mallet. Avoid swinging too hard.
- Take Breaks: Carving can be physically demanding. Take frequent breaks to avoid fatigue and maintain focus.
- Work in a Well-Ventilated Area: Stone dust can be harmful to your lungs.
- Don't Rush: Relief carving is a process that requires patience and attention to detail.
- Observe and Learn: Study the work of other relief carvers to gain inspiration and learn new techniques.
- Embrace Imperfection: Even experienced carvers make mistakes. Learn from them and move on.
Common Mistakes to Avoid
Several common pitfalls can hinder your progress in relief carving. Identifying and avoiding these will accelerate your learning:
- Using Dull Tools: This is the biggest culprit for inaccurate cuts and potential injury.
- Removing Too Much Material Too Quickly: This can lead to a loss of control and a ruined carving.
- Lack of Planning: Not having a clear plan for your design can result in inconsistent depth and a poorly defined relief.
- Ignoring Grain Direction (for some stones): Certain stones have a grain, like wood. Carving against the grain can be difficult and lead to chipping.
- Not Stepping Back to Assess: Regularly stepping back to view your carving from a distance helps you identify areas that need attention.
Beyond the Basics: Exploring Power Tools and Advanced Techniques
While hand tools offer a traditional and satisfying experience, modern modern stone carving techniques often incorporate power tools to increase efficiency and precision. Rotary tools, diamond saws, and pneumatic chisels can significantly reduce the time required for roughing out and detailing. However, mastering these tools requires a thorough understanding of safety practices and a gentle approach to avoid damaging the stone. For those truly dedicated to pushing the boundaries of relief carving, exploring these advancements can unlock new levels of artistry.
Safety First: Protecting Yourself and Your Materials
Working with stone, even relatively soft stones like soapstone and alabaster, can present certain risks. Always wear safety glasses to protect your eyes from flying debris. A dust mask is essential to prevent inhaling stone dust, which can be harmful to your lungs. Gloves can improve your grip and protect your hands from cuts and abrasions. Proper ventilation is crucial, especially when using power tools. And always work in a well-lit area to ensure you can see what you're doing. Don't hesitate to research best practices and seek advice from experienced carvers to ensure a safe and enjoyable carving experience.
Finding Inspiration and Continuing Your Carving Journey
The world of relief carving is vast and varied, offering endless opportunities for creative exploration. Visit museums and galleries to study the work of master carvers. Explore online resources and communities to find inspiration and connect with other carvers. Consider taking a workshop or class to learn new techniques and refine your skills. And most importantly, don't be afraid to experiment and develop your own unique style. The journey of a carver is a lifelong pursuit, filled with challenges and rewards. Embrace the process, enjoy the experience, and let your creativity flow.